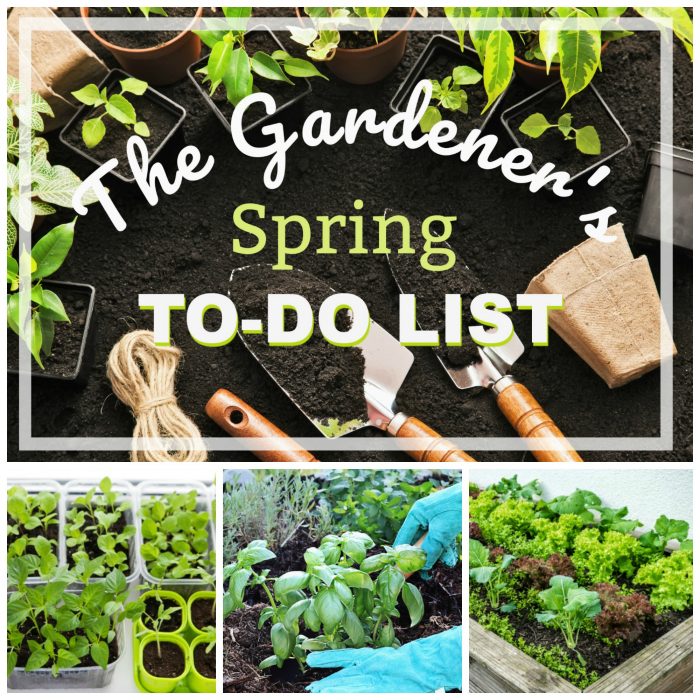
Now that spring is just around the corner, it’s time to get started on our Spring To-Do Lists! Check your garden zone before you get started to make sure your garden is ready to grow.
To-Do List for the Spring Garden
- Prep your beds. This is typically the one garden chore gardeners don’t look forward to doing, but it’s an important one. Walk around the garden and begin removing any leaves, pine needles or debris from the garden. This ensures that your transplants will have the best living conditions and the soil will drain efficiently. Because many compost piles are short on carbon-rich materials, add the debris and items you remove into the compost pile. Now is also a good time to weed while the weeds are still young and tender. An easy way to suppress weeds before they grow is by smothering them with cardboard. Simply set the cardboard on top of them and then add soil on top to build new sheet mulched/lasagna garden beds. As well, you will want to “dead head” and clear dead foliage and add to the compost pile.
- Repair beds, trellises or fencing. The high winds and heavy moisture from winter can damage garden beds, trellises, and fencing. Repairing them now when there is less growth to work around and fewer roots to disturb. Doing so will help better protect your plants. If your garden is on an automatic watering system, check for any holes in the tubing and make sure everything is as it should and giving plants water.
- Plan your garden and dream big! Are you wanting to grow enough food to can and put some away? Go for it! Are you wanting to try some new vegetable varieties? Do it! You get out of your garden what you put in it. Over the past few months, I’ve been doing a lot of reading about biodiversity, making the most of space, and different staking methods. But, before I can do any of that, I need to plan out my garden. One of the biggest mistakes we gardeners make is not planning where everything will be planted, and (here’s a big one) not putting garden markers indicating what type of plant we planted. We have all done it and think that we will remember, but then a week goes by and you have completely forgotten what you planted. This is important because some plants are companions and grow better when planted near one another. On the other hand, some plants don’t get along and can deter the health of one another. So, take my advice one this, plant our your garden and label them in the garden.
- Check on your compost pile. During mild days, check and see how your compost pile is doing and give it a good turn and some water to revive it if needed. The decomposition process slows during colder months, but it is still working. Add some moist green, nitrogen-rich items to the compost to start heating it up. If you have chickens, now would be a good time to muck out the barn and start a new composting pile.Chicken manure is one of the leading soil amendments and preferred by most organic farmers because it has higher levels of nitrogen, phosphorus, and potassium compared to cattle, sheep or horse manure. If you are cold composting, that is a compost heap that is created and allowed to sit for up to 6 months, or until it has composted down to rich dark brown matter. Check on your compost pile every few weeks to ensure it is decomposing.
- Start growing your herbs. Herbs like basil, cilantro, and catnip are a favorite in my garden but require a longer growing period before it is ready for the garden. I start my herbs in February/March and grow more every three weeks so that I will have plenty during the summer months.
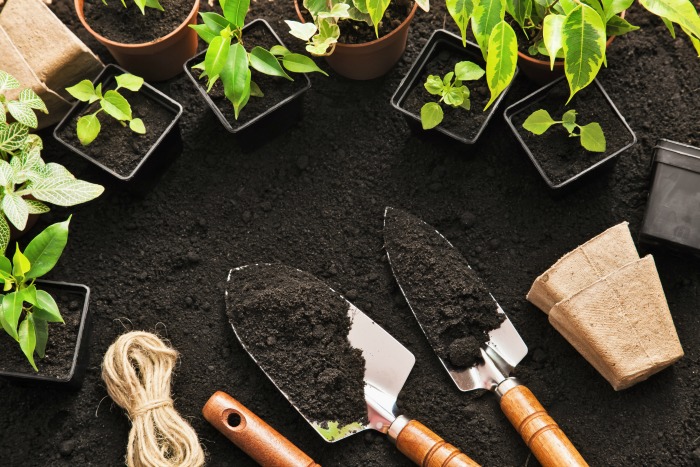
- Get those seeds started! Now that you have planned your garden out, now is the fun part. Home gardeners can start vegetable and flower seedlings indoors between 4 to12 weeks before the last average spring frost in their area. In early March, gardeners usually start with plants that prefer cooler weather like cabbage, broccoli, cauliflower, onions, leeks, spinach, and radishes. When it is 10 weeks to the last frost, gardeners will begin planting their summer season plants like the summer favorite tomato, carrots, green beans, and peppers. My personal preference is to hold off on planting melons and squash until all danger of cold has passed in your area. They are extremely sensitive to the cold and it would be a shame if you lost them to bad weather. Provide your plantings with comfortable temperatures, adequate soil moisture and time, and your plants will establish strong root systems and, in time, grow big enough for replanting. Follow these steps to get your seeds started to ensure planting success. Once the true leaves have formed, give plants a diluted liquid fertilizer. Harden plants around week 4 and continue giving plants diluted fertilizer and soft sunlight until fully hardened.
- Top dress your beds. The spring is the best time to add soil amendments. Resist the urge to dig the bed; established beds have a complex soil ecosystem which is best left undisturbed. Nutrients added from the top will work their way down into the soil. I usually add compostables items (egg shells, paper, food scraps, bits of cardboard, etc.), then I add layers of soil amenders, add some water and leave the bed alone for a few weeks. Some of my favorite soil amenders are earthworm castings, organic compost, phosphate, powdered oyster shell or egg shells, and green sand. I usually mix these up together in a wheelbarrow and add them to the garden.
- Spring is the perfect time to get some potatoes started. We usually use grow bags to grow our potatoes. We will start potatoes in one bag and then the next week, we’ll start another set and so on (I like having a continuous supply of potatoes over here).
- Prepare for freak weather. Towards the end of spring, there could be random snow storms or heavy rains. Prepare beforehand to ensure any plants that are planted are protected. Collapsible row tunnels are a great way to protect young plants. They can also protect against snow. If snow falls shovel and brush off snow from raised bed covers and polytunnel greenhouse.
- Get that garden planted! Now that no more days of frost will happen, it’s time to harvest early spring crops, pull up any overwintered veggies and replace with transplants. Prior to planting the transplants, I like to add a sprinkling of organic fertilizer to the planting hole. This will help the plants recover from transplant shock and help their roots grow. After a few weeks, check on the young plants and add mulch to reduce weeds and hold in soil moisture.
That’s it! This 10 step To-Do list will help you get ready for your most successful garden yet!
.