Bell peppers, like most vegetables, contain high amounts of nutrients difficult to get by consuming what’s on the grocery store shelves. Bell peppers also offer that added punch of flavor to food without adding any spice.
- Did you know that green peppers are just unripe red peppers?
- Red peppers can also stave off the effects of radiation in the event of a nuclear war.
- Red peppers have the ability to shield your cells from some of the effects of ionizing radiation. Like cranberries, red bell peppers contain a significant amount of Vitamin C and Vitamin E which help to protect the body from radiation.
- They can be grown outdoors, in containers, as well as in hydroponic setups.
- Red bell peppers also help support healthy night vision. They are high in vitamin A, which helps to support healthy eyesight, especially at night.
- Bell peppers can resist most garden pests as well!
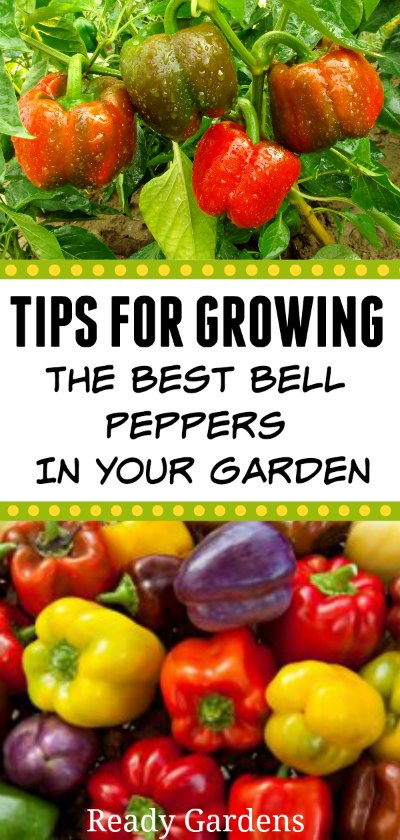
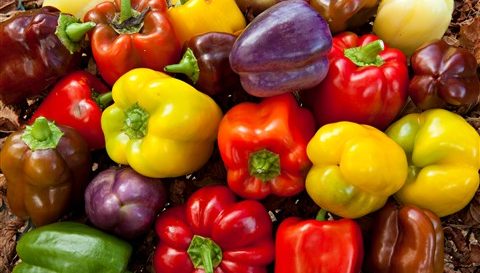
All of these are great reasons to start growing some bell peppers! Peppers are a tender, warm-season crop that offers a little bit of something for everyone: spicy, sweet, or hot; and a variety of colors, shapes, and sizes. Here are some tips to help you grow the best bell peppers in your own garden:
Planting
- Start seeds indoors 8-10 weeks before last spring frost date (according to the almanac.)
- The temperature must be at least 70° F for seed germination, so keep them in a warm area for the best and fastest results.
- Start pepper seeds three to a pot, and thin out the weakest seedling. Let the remaining two pepper plants spend their entire lives together as one plant. The leaves of two plants help protect peppers against sunscald and the yield is often twice as good as two segregated plants.
- Begin to harden off plants about 10 days before transplanting.
“Hardening off” is the process of gradually acclimatizing indoor-sown plants to outdoor conditions. For most plants, begin hardening off a week before the final frost date for your area. Choose a sheltered spot to harden off your plants. An unheated greenhouse or cold frame is a great tool for this, or you can cluster pots into buckets, crates or boxes to keep the wind off. Don’t place pots directly on the ground where they can easily be knocked over by birds or dogs or attacked by slugs.
Begin hardening off on a still, cloudy day when temperatures are fairly steady. Water plants before you put them outside. Place them in your sheltered spot for just two hours on the first day. The next day, leave them out for two more hours, with perhaps an hour’s direct sunshine in the morning. Gradually increase the length of outdoor time and direct sunshine over one to two weeks. You can then leave them out overnight if there’s no danger of frost.
If you live in a cold weather climate, your peppers will need a little more care during the “hardening off” process. Towards the end of the hardening off period, cover your peppers with fleece or row covers to protect them from the cold overnight. Once crops have been planted in their final positions, be alert for unexpected cold snaps and cover your bell peppers if necessary. (This applies to tomatoes as well.)
- A week before transplanting, introduce fertilizer or aged compost into your garden soil.
- After the danger of frost has passed, transplant seedlings outdoors, 18 to 24 inches apart (but keep the paired plants close to touching.)
- Soil should be at least 65° F, as peppers will not survive transplanting at temperatures any colder. If you live in a cooler climate, you can warm up the soil by covering it with black plastic.
- Put two or three matchsticks in the hole with each plant, along with about a teaspoon of fertilizer. These give the plants a bit of sulfur, which they like. The matchsticks work by adding acidity to the soil. Bell peppers prefer a pH between 6.0 and 6.8, and the acidifying chemical in the matchsticks helps provide the optimum conditions for them.
Caring for your bell pepper crops
The soil should be well drained, but be sure to maintain adequate moisture either with mulch or plastic covering. Water one to two inches per week, but remember that peppers are extremely heat-sensitive. If you live in a warm or desert climate, watering every day may be necessary.
Fertilize after the first fruit set and weed carefully around plants. If necessary, support plants with cages or stakes to prevent bending. Try commercially available cone-shaped wire tomato cages. They may not be ideal for tomatoes, but they are just the thing for peppers. Or, build your own garden supports!
Here’s an extra tip: For larger fruit, spray the plants with a solution of one tablespoon of Epsom salts in a gallon of water, once when it begins to bloom, and then once again ten days later. Your bell peppers will be slightly larger than they would have been!
Harvesting
Harvest as soon as peppers reach the desired size. This is all personal preference! The longer bell peppers stay on the plant, the sweeter they become and the greater their Vitamin C content. It’s important to use a sharp knife or scissors to cut peppers clean off the plant for the least damage. Bell peppers can be refrigerated in plastic bags for up to 10 days after harvesting.
Bell peppers can be dried, it’s recommended that a conventional oven is used for this task, although there’s been some success using a dehydrator. Wash, core, and seed the peppers. Cut into one-half-inch strips. Steam for about ten minutes then spread on a baking sheet. Dry in the oven at 140° F (or the lowest possible temperature) until brittle, stirring occasionally and switching tray positions. When the peppers are cool, put them in storage bags or storage containers.